

The first, some elegant coasters cost me about $5 a set. All you need to make them are:
Travertine 4 by 4 tiles (these come in packages of 9 tiles for about $4 at you local home improvement store which gives you two sets and an extra tile)
tissue paper
cardstock
glue stick
printer
Modge Podge
spray sealer
Felt protective furniture pads or self adhesive felt
picture of your choice
Sorry there aren't any pictures for this tutorial. I hadn't planned on sharing this project, but it is just to good not to. I loved how elegant they turned out!
First, resize your picture to fit on your tiles and convert it to black and white. For my cousin I used a picture of her new house and added her last name to it. If you don't want to go that route you can use sayings like the ones below: (feel free to use them)


Using any program that will allow you to put the pictures on one page (even a word processor will allow you to do this) and print them onto the tissue paper. Allow the ink to dry. Some people have recommended spraying the inked tissue paper with the sealer and allowing it to dry for 24 hours before using. I tried it and didn't really find a difference between using the sealer and not, so use your best judgement on this one.
Cut out one image REALLY close to the printing. It's easiest to do this if you leave it attached to the cardstock while cutting. Apply a thin layer of Modge Podge to the top of the tile and center your image on the tile. Carefully apply a coat of Modge Podge over the tissue paper being sure to remove any air bubbles. If there are any "dents" in the tile where your tissue is I would gently use a paint brush to push the tissue down into the dent. Allow this to dry completely and then apply 2 more coats of Modge Podge being sure each coat dries before adding a second coat.
Once dry, spray each tile front and back with the sealer. I used 2-3 coats on each side. This will make it much more water resistant. Once this dries, apply your furniture dots to each corner. Wrap with a pretty bow and present your gift.
The second is a cute little Christmas tree that I originally made to use as an Advent tree for Princess A (we add an ornament sticker to it every day) and then made a second to give to a family member who decided not to go through the trouble of putting up a big tree this year. I paid less than $2 to make this!

To make this you will need:

(ignore the apples in the background that Princess A requested only to remove them all from her plate, place them on her placemat and then refuse to eat them. I had hoped that she would return to them later, but alas she did not!)
cardboard cone (I purchased mine for $0.50 in the doll making section but you can make your own from a cereal box)
green paint ( I was to impatient to use acrylic paints, but they would work just as well!)
4 standard sheets of felt (I chose to use two shades of green)
a glue gun
bamboo skewer
yellow paint sample cards
scissors or rotary cutter and mat
Start by painting your cone green. This helps just in case some of the cone peeks through between your felt strips.

(yep, we are working on the stove because I am not one of those fortunate people with a craft room, so I craft where I can and since I am using a glue gun the stove is where I work. It's near an outlet, high enough little hands can't grab a cord, extra lighting and it's flat. The drawback? Gotta stand up the whole time I craft!)
While the paint dries cut the felt into 2-3 inch strips across the long side. (The undecorated tree used 2 inch strips and the decorated tree used 3 inch)
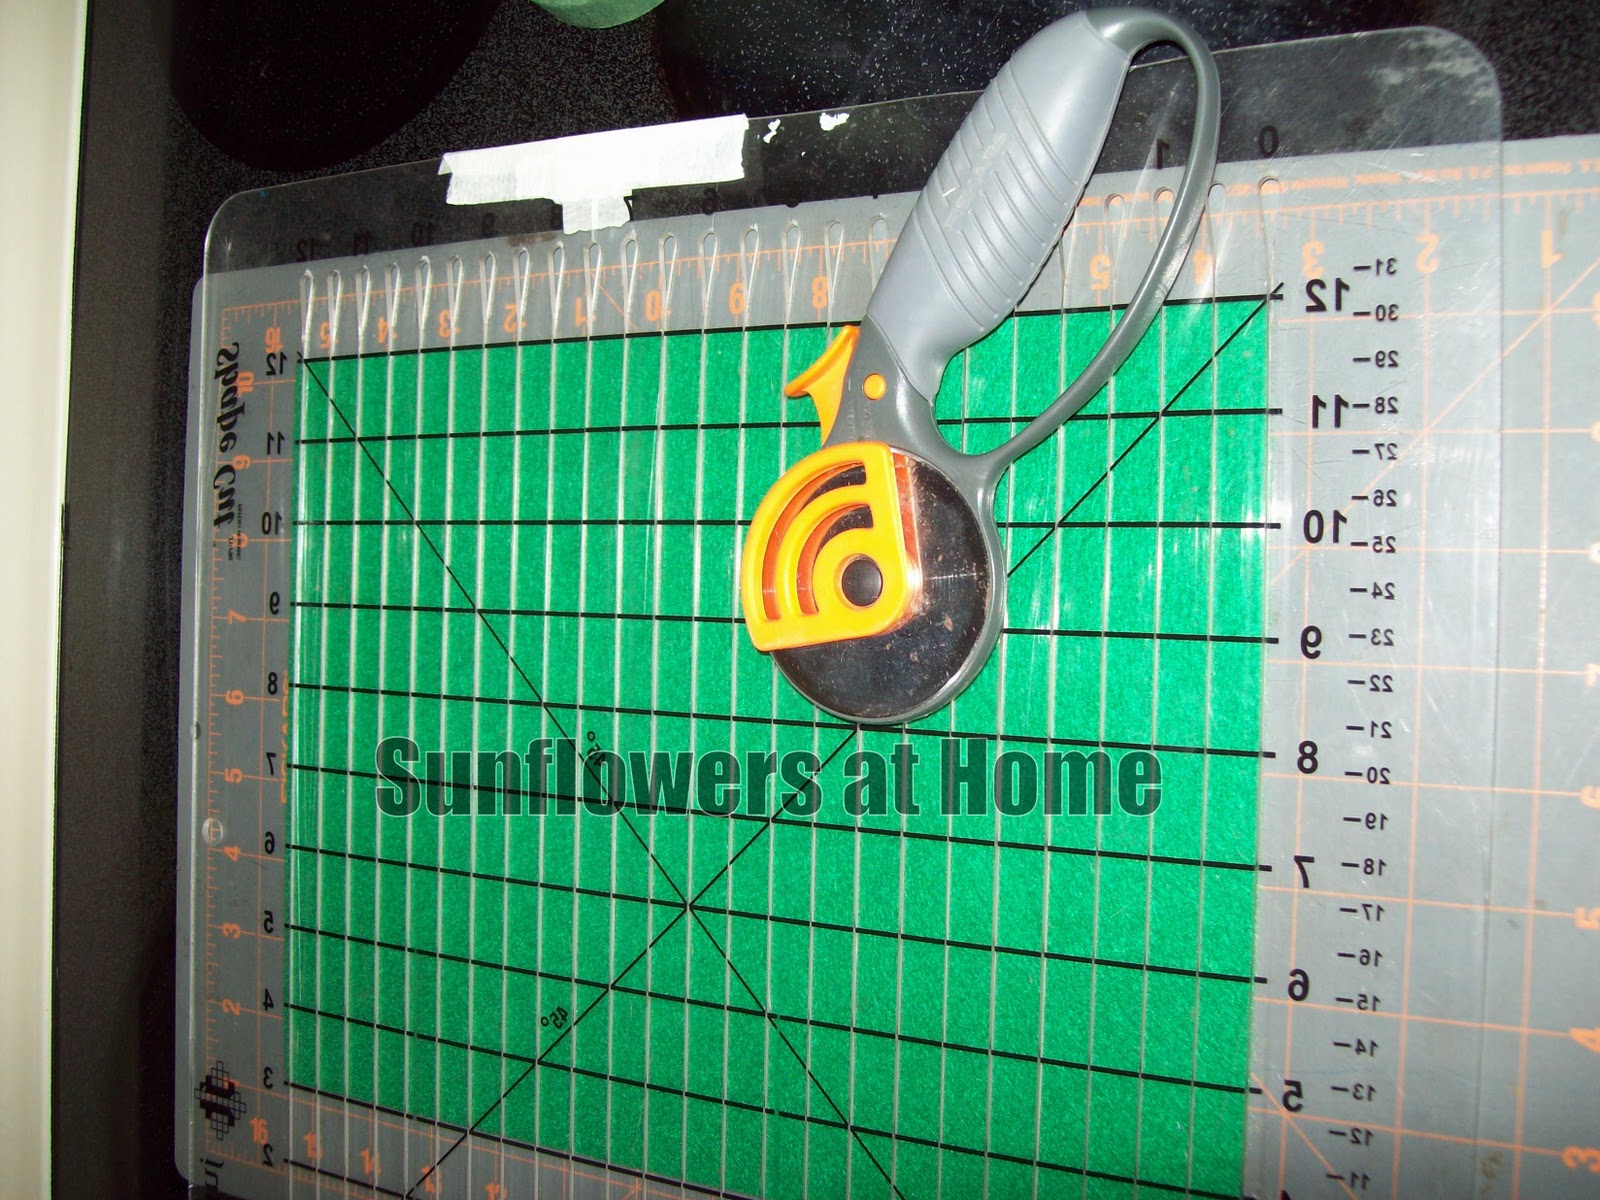
(Cut along the black lines where the numbers are)
Fold them in half hotdog style and using a very small amount of hot glue, glue the long sides together really close to the edge. If you use to much glue it won't want to conform to the curve of your cone and won't lay pretty. To little glue and it won's stay shut.


cut a slit from the folded side almost up to the other side about every 1/2 inch.


Position the second strip so that the folded edge overlaps the top of the previous strip and glue around as before.

Continue all the way to the top. Once you get to the very top cut a strip about 4 or 5 tabs long and glue the edge to form a circle. Apply hot glue to the top of the tree being sure to leave the hole at the top of the cone glue free. Position your circle over the glue and kind of smoosh the top so that it is more pointy.

On the back of one of the paint cards freehand draw a star. Cut it out. Place it on the second paint card so the the pretty sides are touching each other and the printed sides are facing outwards. Cut around the star.

(eww! Time to clean the cutting mat!)
Apply glue down the center of the backside of one star and place the skewer.

Apply glue all over the back of the card and place the second card over the skewer being sure to line up points on the stars.

Allow to dry, slide the skewer down the center of the cone and mark where it comes out the bottom. Cut off excess. Congratulations of your first easy felt tree! You can decorate it with stickers like I did or hot glue some miniature ornaments on, or just leave it plain.
Plan on making these? I would love it if you would share your finished projects on the Sunflowers at Home Flickr group!
Until next time,
