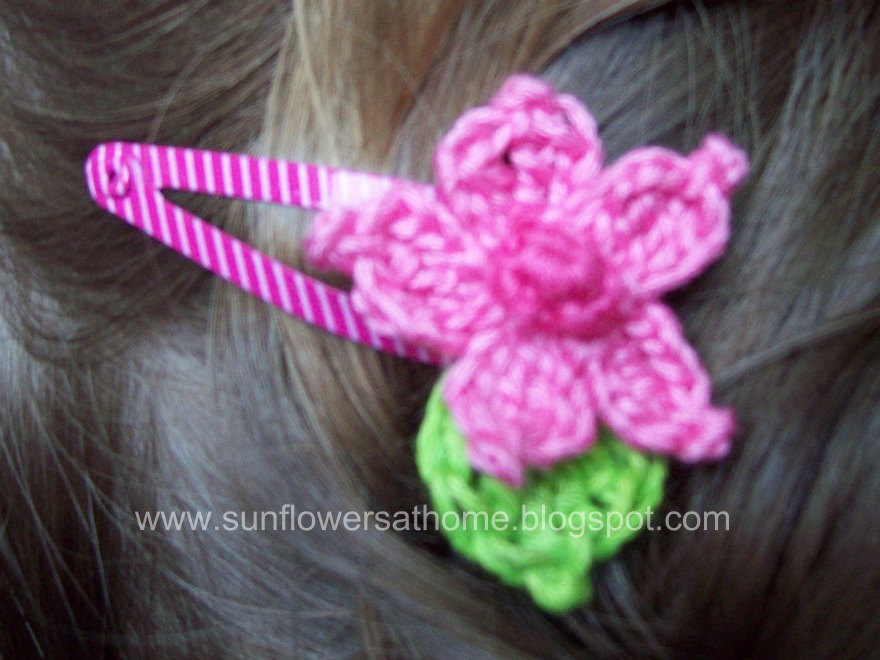
Now that you have seen it to do you blame me? I love this little flower and plan to make bunches and bunches of them. Maybe stick a magnet on the back and include them with Etsy purchases. Off to purchase some cotton yarn in the correct colors. Oh yeah, you can find the pattern here.
Until next time, Sunday, June 5, 2011
June Blooms Day 5
I held out for 4 WHOLE days with NO sunflowers. Can't do it any longer though, especially not after finding this one by Sandra Perhaj over at Stay at Home Knitter.
Saturday, June 4, 2011
June Blooms Day 4
Hello dear readers. Today is a day of mixed emotions for me. My very dear neighbor is moving out. While I have known for about a year that this day was coming, (they had major problems with another neighbor, bought property and began building another house) I had filed that away in the back of my mind. Today was their final day in the house. Fortunately, though, their new house isn't terribly far away and thanks to modern technology we can still stay connected even if we can't stand in the driveway and chit chat anymore.
On the other hand, today is also the day that my new neighbors move in. I swear the former family took the last of their items out and 30 minutes later then new family arrived to start moving in! I have never seen anything like that before!. They also have kids from what I can tell. Hopefully the new neighbors will become new friends.
Did you know that the rose symbolizes new beginnings and hope as well as love? Wanna guess what today's flower is? That's right, a rose. The pattern comes form June Gilbank from Planet June and you can find the pattern here. Be sure to check out the whole site though because there are LOTS of cute patterns there!
Here is my little rose.
I am still stuck on the hair accessories theme so this one is going on a hair clip. I need to make a couple of leaves to go under it though. June had some neat instructions to add a calyx and stem to it so you can create an everblooming vase of roses. No more droopy falling over flowers in the center of the table!
Until next time,
On the other hand, today is also the day that my new neighbors move in. I swear the former family took the last of their items out and 30 minutes later then new family arrived to start moving in! I have never seen anything like that before!. They also have kids from what I can tell. Hopefully the new neighbors will become new friends.
Did you know that the rose symbolizes new beginnings and hope as well as love? Wanna guess what today's flower is? That's right, a rose. The pattern comes form June Gilbank from Planet June and you can find the pattern here. Be sure to check out the whole site though because there are LOTS of cute patterns there!
Here is my little rose.
I am still stuck on the hair accessories theme so this one is going on a hair clip. I need to make a couple of leaves to go under it though. June had some neat instructions to add a calyx and stem to it so you can create an everblooming vase of roses. No more droopy falling over flowers in the center of the table!
Until next time,
Friday, June 3, 2011
June Blooms Day 3
Morning all. I pray that today finds you happy and well and that you are surrounded by blessings. Today's pattern was created by Julie, aka SkaMama, who happens to be an editor for Tension Magazine and an author for Uncommon Crochet. She has TONS of beautiful patterns on her site, both free and for purchase. Be sure to check it out here. Today's flower is called the Picot Flower and is a really neat way to get a two layer, multi-color flower without having to do any sewing. Keep in mind that color A will be your center color and color B will be the petals in the back. When you begin working on the back petals keep in mind that you hook enters back of the work to front and then through the center to pull up a loop.
Again I worked mine using embroidery thread. I used a size 8 hook since my size 7 seems to have run away from me. :( My finished flower was about 1 3/4 inches diameter. I think these would be lovely as the center of squares in a granny afghan, or possibly an embellishment on a hat or purse. They are a bit bigger than I prefer for hair accessories for Princess A. Then again maybe I can glue it to a barrette. I have the perfect outfit to go with it!
Until next time,
Again I worked mine using embroidery thread. I used a size 8 hook since my size 7 seems to have run away from me. :( My finished flower was about 1 3/4 inches diameter. I think these would be lovely as the center of squares in a granny afghan, or possibly an embellishment on a hat or purse. They are a bit bigger than I prefer for hair accessories for Princess A. Then again maybe I can glue it to a barrette. I have the perfect outfit to go with it!
Until next time,
Thursday, June 2, 2011
June Blooms Day 2
Today's pattern is based upon a cute little flower I found on Ravelry. Unfortunately the directions are in Japanese and Google's translator wasn't much help. The good news is that she had LOTS of pictures of each step so I was able to put something together that looks a lot like hers. You can find the original pattern that was named teh Flower hair elastic pattern on Ravelry here. You will need this link if you intend to make it part of a hair elastic using method 2 below. Let's get started:
To make this cutie above you can use any yarn, just use a hook that is appropriate for the weight. Mine were made using 6 strand embroidery floss and a size 7 (1.65mm) hook. The finished size using these materials is about a 1 inch diameter.
begin by chaining 6, join to form a circle
work 12 single crochet in the circle and join to the first sc
ch 1, sc in the first stitch, chain 3, skip the next sc,* sc in the next sc, chain 3, skip the next sc. Repeat from the *4 times. slip stitch to the first sc. You should have 6 chain 3 spaces.
*in next ch 3 space work sc, hdc, 3 dc, hdc, sc. Sl st into the sc of previous row. Repeat from * around. You should now have 6 petals. Fasten off your yarn and weave in the ends. On to the center
Make a magic circle. Work 6 sc in the circle. Do NOT join. Tighten your circle
work *2 sc in next stitch, sc in next. Repeat 2 more times for a total of 9 sc
work *2 sc in next stitch, sc in next 2 stitches, Repeat 2 more times for a total of 12 sc. Fasten off leaving a long tail.
Using the tail from the center piece, sew the center to the center of the flower. To make this a hair elastic using a ready made elastic cut a small piece of felt and sandwich the elastic between the felt and flower being sure to glue securely. I would suggest a strong glue, perhaps fabric tac or E6000.
Or you can make your own elastic using some stretch cord. Basically, before attaching the center thread each end of the elastic up through the back of the flower and tie them into a secure knot. Trim the ends and sew your flower center on over the knot to hide it. You can see pictures of this on the blog above.
Finally, sorry for the poor quality pics. It has been rainy and overcast for what feels like forever while I am trying to put these posts together. So new pretty sunshine for pretty pictures. In addition, Princess A is going stir crazy being in the house so much (a mom can only handle so many muddy clothes before she screams!) which made for a very short photo shoot. Still, you get the idea I hope!
Until next time,
To make this cutie above you can use any yarn, just use a hook that is appropriate for the weight. Mine were made using 6 strand embroidery floss and a size 7 (1.65mm) hook. The finished size using these materials is about a 1 inch diameter.
begin by chaining 6, join to form a circle
work 12 single crochet in the circle and join to the first sc
ch 1, sc in the first stitch, chain 3, skip the next sc,* sc in the next sc, chain 3, skip the next sc. Repeat from the *4 times. slip stitch to the first sc. You should have 6 chain 3 spaces.
*in next ch 3 space work sc, hdc, 3 dc, hdc, sc. Sl st into the sc of previous row. Repeat from * around. You should now have 6 petals. Fasten off your yarn and weave in the ends. On to the center
Make a magic circle. Work 6 sc in the circle. Do NOT join. Tighten your circle
work *2 sc in next stitch, sc in next. Repeat 2 more times for a total of 9 sc
work *2 sc in next stitch, sc in next 2 stitches, Repeat 2 more times for a total of 12 sc. Fasten off leaving a long tail.
Using the tail from the center piece, sew the center to the center of the flower. To make this a hair elastic using a ready made elastic cut a small piece of felt and sandwich the elastic between the felt and flower being sure to glue securely. I would suggest a strong glue, perhaps fabric tac or E6000.
Or you can make your own elastic using some stretch cord. Basically, before attaching the center thread each end of the elastic up through the back of the flower and tie them into a secure knot. Trim the ends and sew your flower center on over the knot to hide it. You can see pictures of this on the blog above.
Finally, sorry for the poor quality pics. It has been rainy and overcast for what feels like forever while I am trying to put these posts together. So new pretty sunshine for pretty pictures. In addition, Princess A is going stir crazy being in the house so much (a mom can only handle so many muddy clothes before she screams!) which made for a very short photo shoot. Still, you get the idea I hope!
Until next time,
Wednesday, June 1, 2011
June Blooms day 1
Welcome to the first day of Sunflowers at Home's June Blooms, where every day in June we will create a different crochet flower. These are great to add to hairclips, cards, scrapbook embellishments, hair elastics, pins, pens, and so much more. Just let your imagination run wild!
I would love it it you shared YOUR June Blooms with me on my facebook page.
Today's June Bloom is from Akua on Zen Crochet. You can find the pattern for Akua's Daisy here.
I did mine using a size 7 steel crochet hook and 6 strand embroidery thread. Where the pattern says "sl ring" I took that to mean a magic circle. So that is what I did. Also, when working this pattern, make sure that you keep the right side of your work facing out. The first one I made kept flipping so that the right side was facing in and that just didn't look right. Also, if you use the magic ring you can use the tail after you tighten the ring to adjust how "poofy" you want your center to be by pulling the tail and then once you have it right, weave it in.
The leaf pattern is my own. Simply make a magic circle. In the circle work 2 sc, hdc, dc, 3 trc, ch 2, sl st in top of the 3rd trc, 2 trc, dc, hdc, sc join to first sc and tighten magic circle.
I used mine on a hair clip for Princess A. I think she is going to have a LOT of hair clips by the end of the month!
Until next time,
I would love it it you shared YOUR June Blooms with me on my facebook page.
Today's June Bloom is from Akua on Zen Crochet. You can find the pattern for Akua's Daisy here.
I did mine using a size 7 steel crochet hook and 6 strand embroidery thread. Where the pattern says "sl ring" I took that to mean a magic circle. So that is what I did. Also, when working this pattern, make sure that you keep the right side of your work facing out. The first one I made kept flipping so that the right side was facing in and that just didn't look right. Also, if you use the magic ring you can use the tail after you tighten the ring to adjust how "poofy" you want your center to be by pulling the tail and then once you have it right, weave it in.
The leaf pattern is my own. Simply make a magic circle. In the circle work 2 sc, hdc, dc, 3 trc, ch 2, sl st in top of the 3rd trc, 2 trc, dc, hdc, sc join to first sc and tighten magic circle.
I used mine on a hair clip for Princess A. I think she is going to have a LOT of hair clips by the end of the month!
Until next time,
Subscribe to:
Posts (Atom)